Composite fences are becoming increasingly popular as they are long-lasting and can last up to two decades. They also require little maintenance and are resistant to mold and rot. Installing a composite fence takes several days and requires help from one or more people to pour concrete as well as maneuver composite fence panels and posts. You can look for composite fencing panels that attach to fence posts with ease, making it an easier project when compared to installing a wooden fence. The team at Principality Plastics believes a composite fence is not only environmentally conscious, but it also adds privacy to an outdoor space.
that said, let’s look at how you can install composite fence panels. Keeping in mind that these instructions can change depending on the foundations.
Map Your Fence Line
To begin with, determine the amount of composite fence you will need to get the job done. Figure out how many composite fence panels you will need to install for your fence to be sturdy. Leave an expansion gap of 6 millimetres between the post and the fence slat. This will allow for the thermal reaction of the material used to temperature changes. Additionally, when you are measuring between post supports, allow for a spacing that equals 1896mm: 6mm for the fence slat expansion, 90mm for fence post width and 18000mm for the width of the fence slat. Planning your fence before buying materials and digging will help you reduce costs and avoid buying excess materials.
Dig the Post Holes
You can draw the fence on paper and use a can of spray paint and stakes to mark where you will dig your post holes. Ideally, the post holes should be a minimum of 1/3 of your fence height to ensure stability. Before digging, decide where you’ll mount the fence, which will help you determine where you will place the first post. For instance, if you are installing a fence on for your back garden, you can mount it to your house or any stable structure for stability. After digging the post holes, create a curved channel with a digging tool then pour cement to create footers. In turn, this will help prevent water from penetrating the post and ensures that the posts will adhere to the cement.
Mount Posts
It will take up to 2 days for the cement to cure. When mounting your first post, it should be set correctly and upright since it will act as the datum point for the entire run. Place the other post supports in position, ensuring that they are square and level to the run of your fencing. Once the metal supports are in place, use the four pilot holes in these supports to mark where you will drill the support fixing holes. Use an 8-millimetre masonry drill bit to pre-drill the support fixing holes to the suitable depth, which is 100mm if you are using the coach bolts and 800mm if you are using rawl plugs. Next, use fixings to firmly secure the post stand, making sure there is no movement.
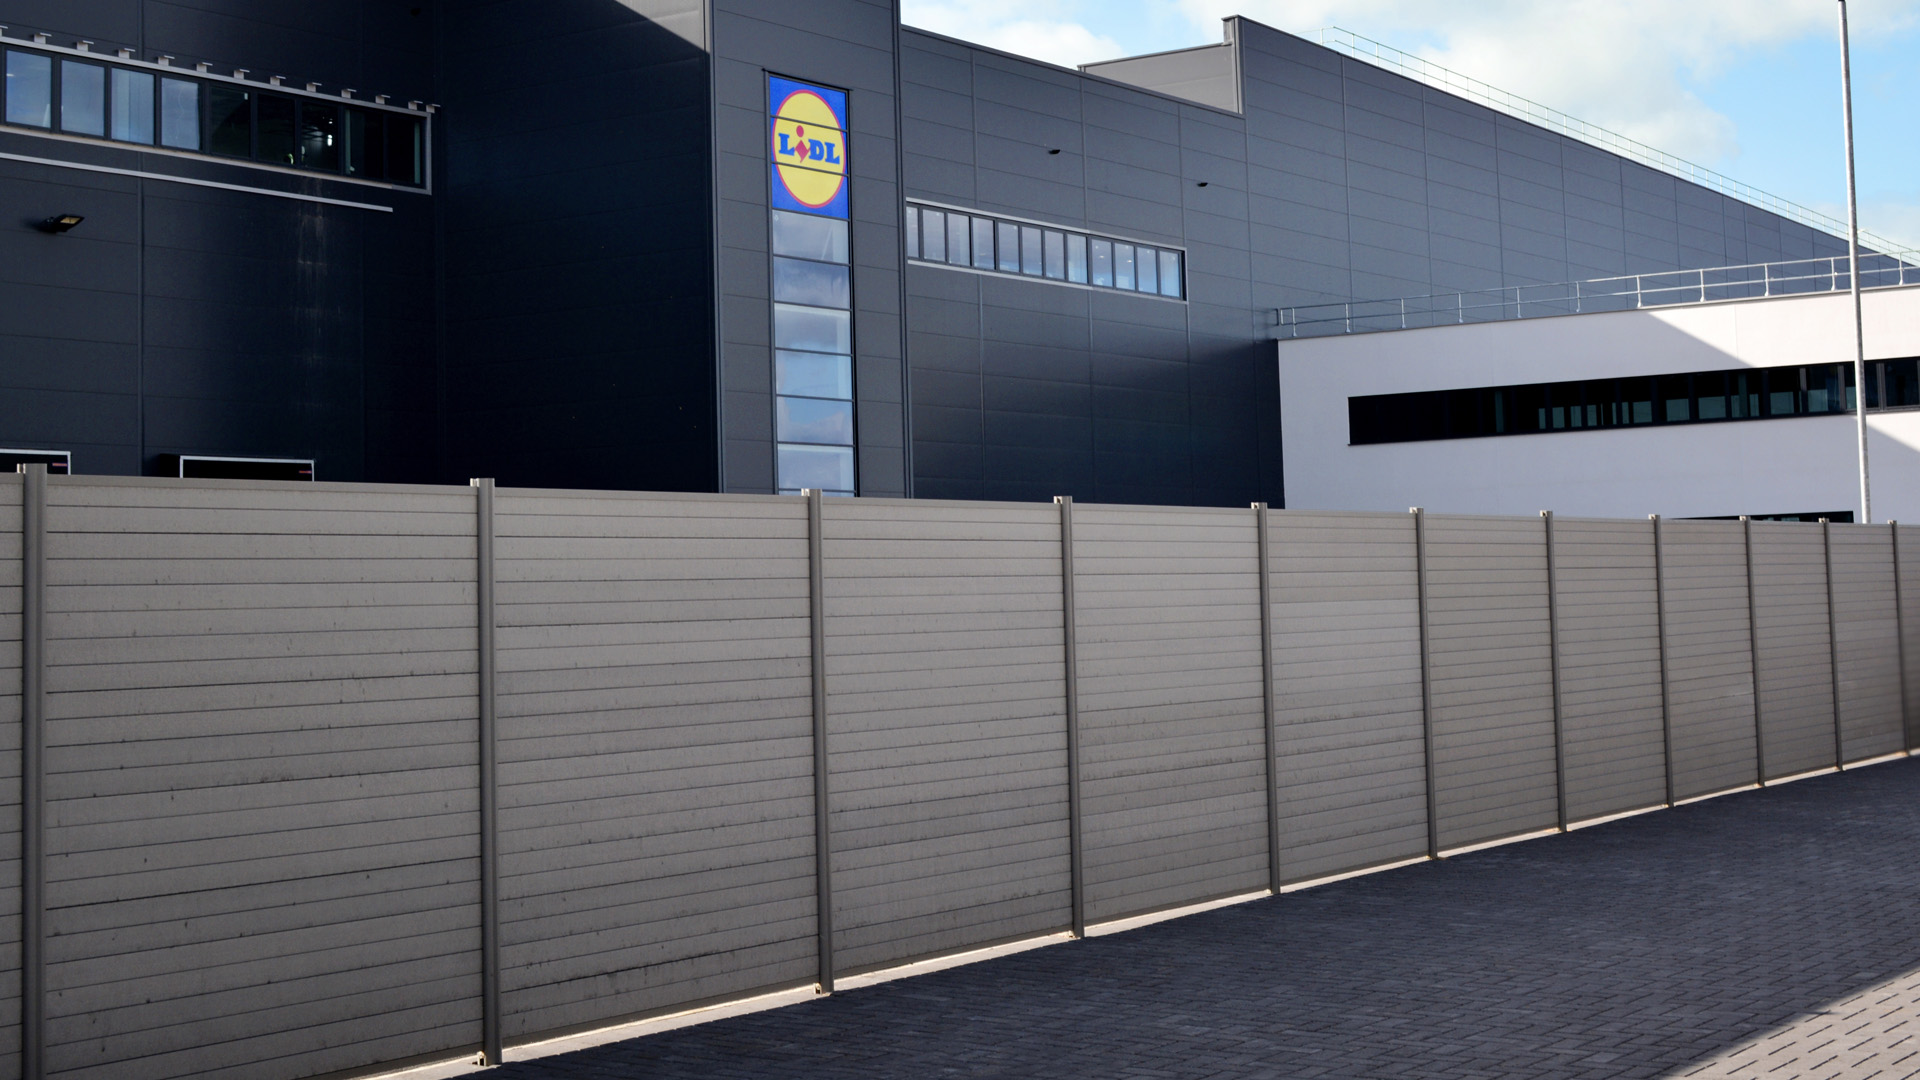
Install Composite Fence Panels
– Before installing your composite fencing panels, you should keep the height of the ground in mind. The fence should be close to the ground to keep your pets inside as well as keep other animals from burrowing their way into the garden.
– To keep your fence level and straight, you can use a string by running it from corner to corner. Use this as your guide when installing your composite fence panels.
– Once your posts are in the right position, slide your fence post onto the stand. The post grooves should be in the right direction to allow for a 90 or 180° fencing run. Cut the posts to the desired size if you are looking for fencing with a shorter height.
– Once the opposing fence posts are in place, take a fence panel cap and clip it to the bottom of your first fence slat. With the panel cap attached, slide the fence slat down the grooves (long, narrow depression) in opposing fence posts.
– You can now slot in the other slats until you reach the height that you want. Keep in mind that twelve slats can cover a standard 6-foot fence height. Once you have installed all the boards, you can complete the fence panel.
– To finish off the top of your last fence slat, clip-on another metal panel cap. Then, take the fence caps and insert them into the top of your fence posts. Repeat these steps until you finish the whole fence.
If your design includes a fence gate, you will have to use heavy-duty screws together with a level to install the gate and ensure it is straight. After installation, open and close the gate several times to ensure that it’s fully functional.